August 12, 2014

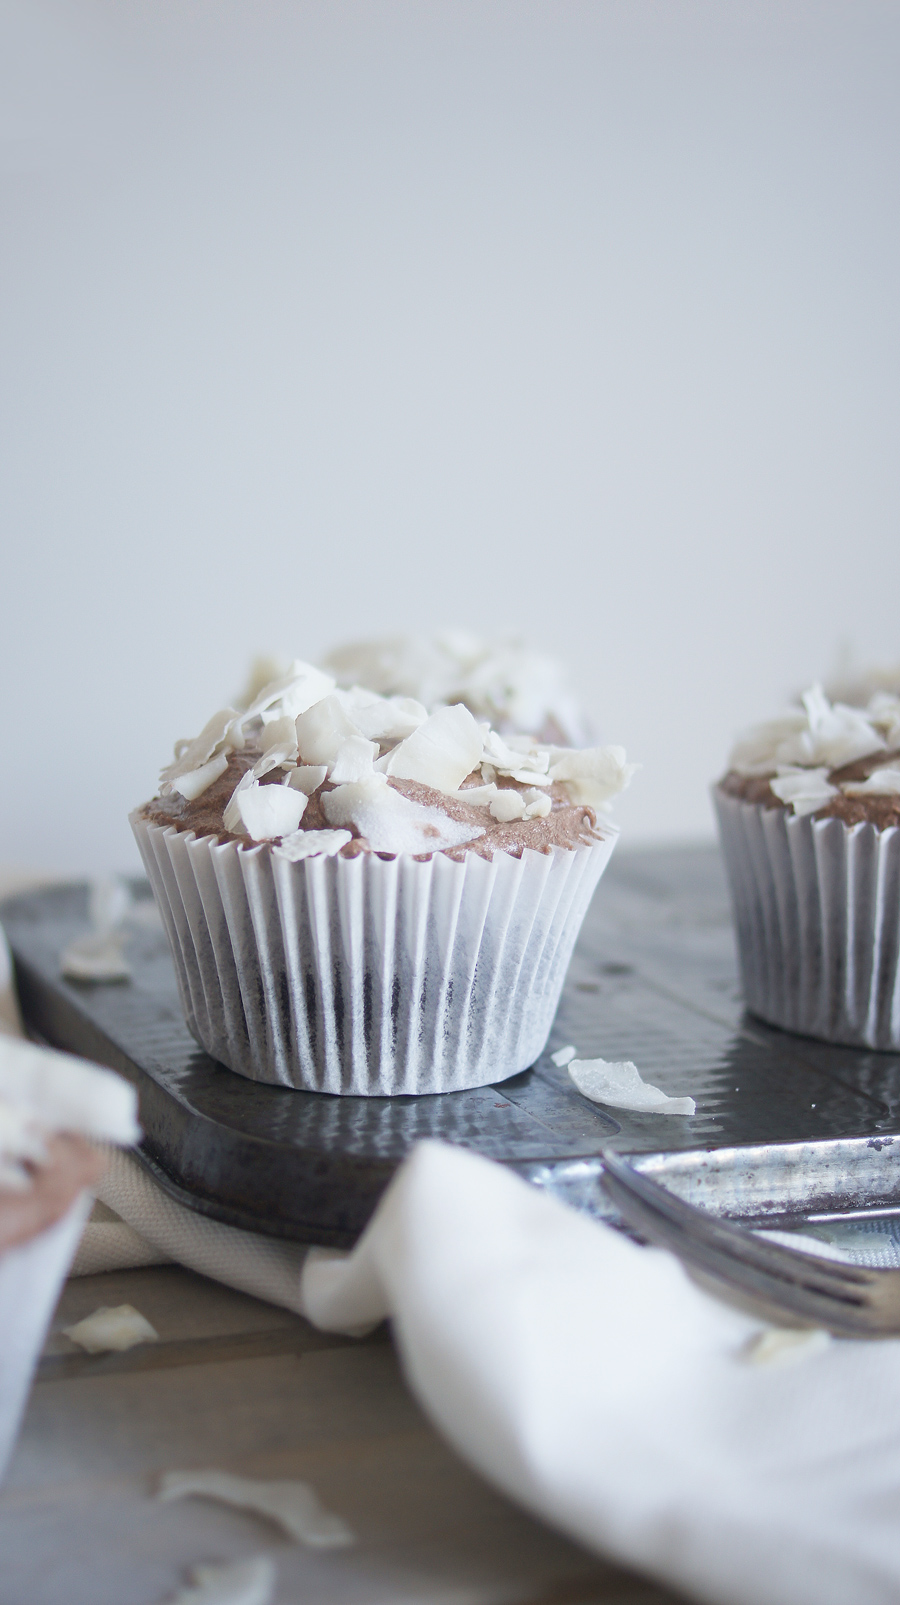
It is recipe day today and Bianca from Botanic Baker Blog is back today to share with us one of her delicious Vegan treats.

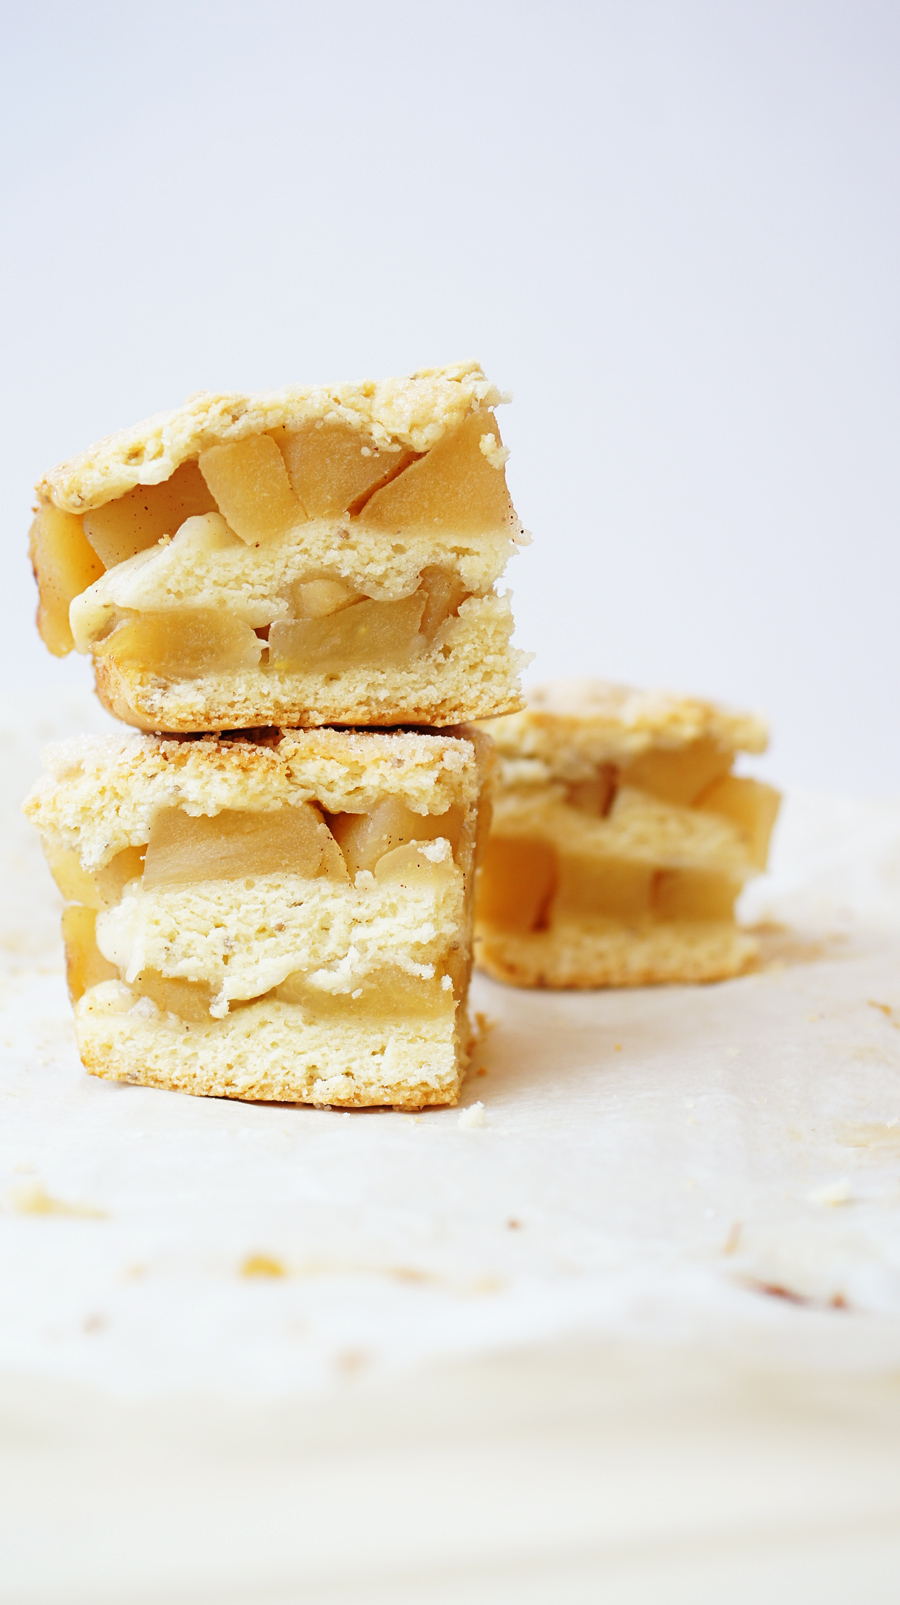
This Apple and Cinnamon Slice sounds just amazing and would be the perfect afternoon treat for visitors (or just to treat yourself).  The recipe can be found and printed at the bottom of the post – as will all of Bianca’s recipes they can all be made non vegan.

slice003 slice004


Apple and Cinnamon Slice
Write a review
Print
Ingredients
  1. 2 cups plain flour, sifted
  2. 2 tsp baking powder
  3. ½ cup caster sugar
  4. 125g softened butter
  5. 1 chia egg* - egg can be used also.
  6. ( 1 tbs chia seeds to 3 tbs water, whisk until combine and gel starts to form. Place in fridge for 15 minutes before using)
  7. 2 cups stewed apples, with cinnamon*
Instructions
  1. Simply peel, core and dice your apples then place into a large pot or saucepan with a lid. Sprinkle apples with ground cinnamon and a tablespoon of caster sugar.
  2. Pour in ½ cup of water over the top and put the pot onto a medium heat, stirring occasionally until apples become soft but still firm.
  3. Once cooked, strain and allow the apples to cool before placing them into your slice.
  4. Combine all pastry ingredients into a food processor.
  5. Mix until all ingredients are combine, if needed you can add extra milk if dough is not combining.
  6. While your dough is combining, line your slice tray with baking paper.
  7. Once combine place the dough onto a well floured surface and roll into a ball, place in fridge for 5 – 10 minutes.
  8. While dough is sitting in the fridge pre-heat oven to 180°C.
  9. Cut dough into 2 or 3 balls ( this depends on how many layers you wish to make)
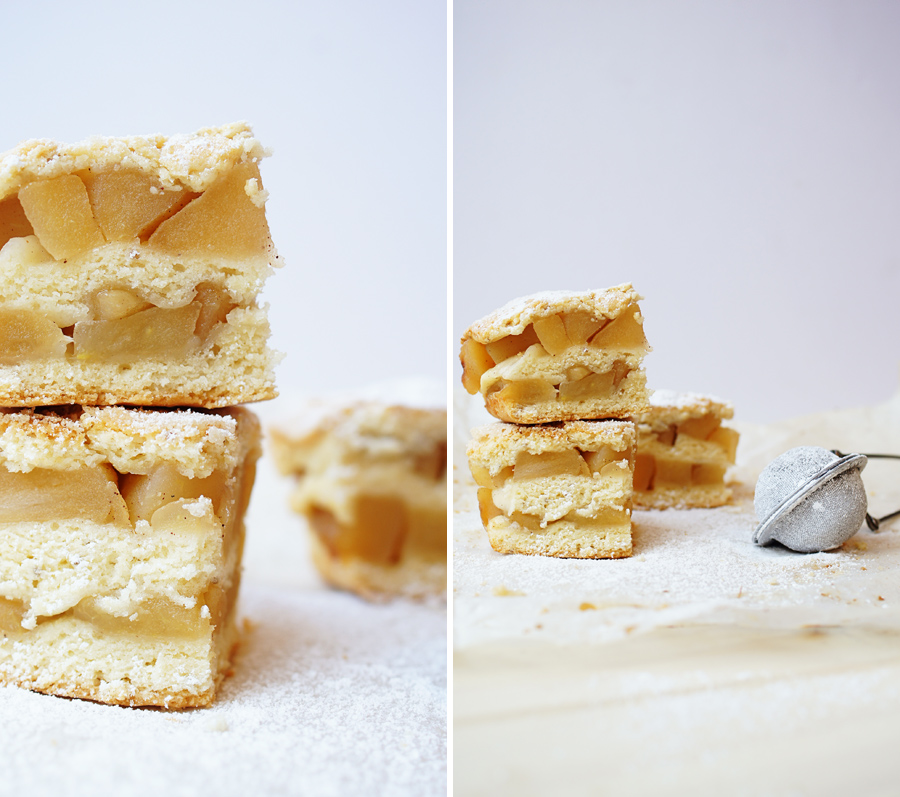
  10. On the well floured surface roll your dough balls into roughly 1 cm layers and start to layer your apples and pastry.
  11. Start with a bottom layer of pastry then add your stewed apples(if you like them sweeter sprinkle a teaspoon of caster sugar on to the apples) then layer the pastry. You will need pastry at the top to keep it all together.
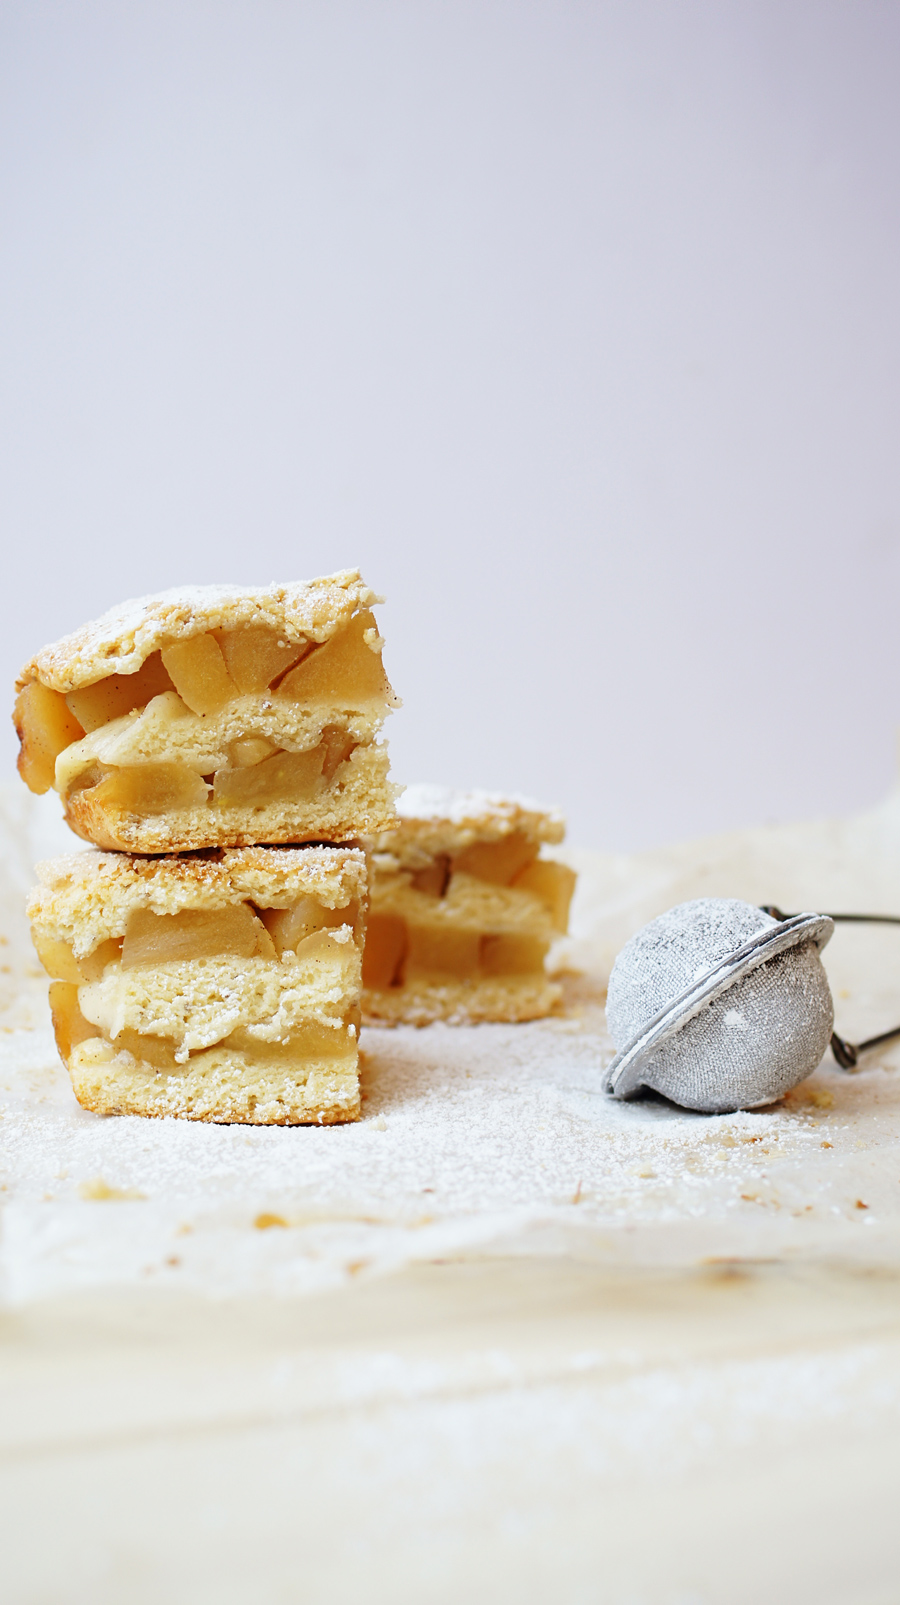
  12. Place apple slice in oven and bake for 25 minutes or until the top is slightly golden brown. Once baked place tray onto a wire rack to cool for 10 minutes before taking the slice out.
  13. Once out cut into slices and sprinkle sifted icing sugar over the top.
Sweet Style http://www.sweetstyle.com.au/

Bianca Virtue is the creator and owner of Botanic Baker Blog in Melbourne, Australia.  After meeting her vegan husband six years ago she started to create and develop vegan recipes that are easy for everyone.  Every recipe can be made non vegan which is the beauty of her recipes.  From simples bakes to learning to make something with seasonal produce her passion is sweet treats.  She is currently studying Patisserie.

August 8, 2014

Today I am joined by my clever friend Jordan from Polkadot Prints.  Jordan has put together for you a beautiful printable gift tag that is filled with lots of meaning.
The recipe for this delicious Rocky Road is also included at the bottom of the post as well as some further information about a beautiful personal project that Jordan is working on that I would love you to read more about.

Here is what Jordan told me about how her ideas came about:-

“I’ve always felt that life is full and wonderful, but there sure are valley’s and hard times eh? The past few months in my personal life have been probably some of the hardest I have faced. My, now healthy, five month old baby girl spent her first week of life in the NICU, giving us the fright of our lives. Then just a few months ago one of my younger sisters passed away in tragic circumstances. It’s through the help and kindness of friends and family that definitely make hard times a whole lot sweeter. 

 I designed these gift tags with the phrase “let me know if there’s anything I can do” in mind. People often don’t know what to say or do when someone is going through something, and we often don’t know how to help, but I encourage you to mix up a batch of Rocky Road and just turn up. Be there. Choccy in hand. Or leave it on a desk, at a front door, in a locker, in the letter box.  It will mean more than you think it will. It’s amazing how something little can mean so much. A little bit of tangible love. Go on…go get that chocolate, download your free tags & brighten someones day today!”

 
Sweet-Style-5708_text02_bleach_wSweet Style-5671_wmRockyroad_sweetstyle004Sweet Style-5686_wm

You can download your free printable gift tags here.

 Jordan Bariesheff is the owner and creator of Graphic Design & Stationery business Polkadot Prints.  Jordan loves crafting up parties and sharing DIY ideas.  She lives in sunny Brisbane with her husband and three kids.  Read more about Jordan on her blog here.  

 Jordan has also recently launched a very special Pozible project.  Please visit her campaign here to find our more about this really beautiful wall art. 

Read on now for this yummy and simple recipe for Rocky Road – I hope you like our new recipe card feature which means you can print out this recipe and pop it in your recipe book.

Photography :: Leanne Ambrogio | Sweet Style
Printables :: Jordan Bariesheff | Polkadot Prints


Rocky Road
Write a review
Print
Ingredients
  1. 400g Cooking Chocolate
  2. 30g copha
  3. 1 cup of nuts (walnuts or peanuts)
  4. 1 x 250g pkt marshmallows
  5. Optional
  6. 1/2 cup desiccated coconut
  7. 1/2 cup glace cherries
  8. 1/2 cup milk arrowroot biscuit
Instructions
  1. Break the chocolate into small pieces and place in heatproof bowl
  2. Add copha pieces to chocolate
  3. Melt in microwave on medium heat for 4-5 minutes (stiring every minute) or until chocolate and copra has melted
  4. Stir until smooth
  5. Add nuts, marshmallows and optional items and stir until evening combined
  6. Pour mixture into a lined lamington tin and spread out evenly.
  7. Place in refrigerator for 2 hours or until set.
Sweet Style http://www.sweetstyle.com.au/

July 18, 2014

I am excited to be sharing a series of Vegan recipes courtesy of Bianca Virtue from Botanic Baker.  The beauty with all of Bianca’s recipes is that they can easily be made non vegan by changing a few simple ingredients.  Today we have delicious Chocolate Cupcakes – be sure to scroll to the bottom of the post to see some great topping ideas for these cupcakes as well.  Happy Baking!

veganchoc003

2 cups coconut milk
2 tsp apple cider vinegar
2 tsp vanilla extract
1 ½ cup caster sugar
1 cup sunflower oil
2 cups plain flour, sifted
1 cup cocoa powder
½ tsp salt
1 ½ tsp baking soda
1 tsp baking powder
2 tsp corn starch
1 tbs icing sugar, sifted 

 In a medium bowl whisk coconut milk and apple cider vinegar until it becomes foamy and bubbly. Add vanilla, sugar and sunflower oil and whisk until combine.

Set aside.

 In a separate large bowl sift flour, cocoa, salt, baking soda, baking powder, corn starch and icing sugar if using. Gradually add your coconut milk mix while stirring with a wooden spoon until all wet mix is added. Be careful not to over mix this stage you just want the dry ingredients to be combine.

Pre-heat oven to 175 ° c , spoon your mix into a lined cupcake tray about ¼ full if making full sized cupcakes.

 Place in oven to bake for 15 – 18 minutes or until a skewer comes out completely clean.

* icing sugar does not have to be used but it will make the cupcakes slightly more sweeter.

veganchoc004

CHOCOLATE FROSTING

 ½ cup butter
3 cups icing sugar
1 tbs vanilla extract
1 tbs milk
1 tbs cocoa powder

Cream butter with an electric mixer once light and fluffy start to gradually add your icing sugar. Once all combine add in vanilla and milk and continue to mix for a further 5 minutes.veganchoc001

CUPCAKE TOPPING IDEAS

Salted dark chocolate: melt dark chocolate in a double boiler, once melted pour into a line tray and sprinkle with salt and place in fridge to set. You can add as much or as little salt depends on how salty you want the chocolate.

Flaked toasted coconut: Place ½ cup coconut flakes into a small frying pan, dry roast the coconut and stir constantly to make sure it doesn’t burn. Once slightly toasted allow to cool before placing on cupcakes.veganchoc007

Bianca Virtue is the creator and owner of Botanic Baker Blog in Melbourne, Australia.  After meeting her vegan husband six years ago she started to create and develop vegan recipes that are easy for everyone.  Every recipe can be made non vegan which is the beauty of her recipes.  From simples bakes to learning to make something with seasonal produce her passion is sweet treats.  She is currently studying Patisserie.

April 24, 2014

Before I tell you the winner of this weeks Royal Albert Giveaway it is time to share with you the recipe for the absolutely perfect, totally amazing icing that you can see on these delicious cupcakes!

Again the recipe is by Gillian from Crumbs of Comfort Cake Design who I witnessed whipping up these delights for me!

She calls it the cheats version of Swiss Meringue Butercream – I call it naughty but oh so yummy!

Cheats Swiss Meringue Buttercream
250 butter
250 copha
750 soft icing sugar
1 1/2 tablespoons magic pav
1/4 cup water
The butter and copha needs to be soft.  Melt the copha if it’s super hard and pop it in the fridge once it starts to go cloudy again it’s ready to mix.
Beat the batter and copha really well until light with no lumps. Add half the sugar and mix to combine. Add magic pav to remainder of icing sugar and add to mix.  After 30 secs add the water (and flavour and/or colour).
Beat for ten minutes .. This makes sure it’s not gritty
 
And so now to the winner of this weeks Cake Stand Giveaway
Congratulations to entry no 1 – Anne Canalese
Please email me with your address details and so I can send off your prize!
Photography & Styling :: Leanne Ambrogio | Sweet Style
Recipe :: Gillian Brown | Crumbs of Comfort Cake Design
Teaware Range :: Royal Albert Australia
Flowers :: Fiona Kate


The Perfect Icing & a Giveaway Winner
Recipe Type: Dessert
Author: Leanne
Cheats Swiss Meringue Buttercream 250 butter 250 copha 750 soft icing sugar 1 1/2 tablespoons magic pav 1/4 cup water The butter and copha needs to be soft.  Melt the copha if it’s super hard and pop it in the fridge once it starts to go cloudy again it’s ready to mix. Beat the batter and copha really well until light with no lumps. Add half the sugar and mix to combine. Add magic pav to remainder of icing sugar and add to mix.  After 30 secs add the water (and flavour and/or colour). Beat for ten minutes .. This makes sure it’s not gritty
Ingredients
  • 250 butter
  • 250 copha
  • 750 soft icing sugar
  • 1 1/2 tablespoons magic pav
  • 1/4 cup water
Instructions
  1. The butter and copha needs to be soft. Melt the copha if it’s super hard and pop it in the fridge once it starts to go cloudy again it’s ready to mix.
  2. Beat the batter and copha really well until light with no lumps. Add half the sugar and mix to combine. Add magic pav to remainder of icing sugar and add to mix.
  3. After 30 secs add the water (and flavour and/or colour).
  4. Beat for ten minutes .. .This makes sure it’s not gritty

April 17, 2014

Are you looking forward to your Easter Long Weekend!

My girls are excited about the impending arrival of a bunny with chocolate (and I must say I do love a bunny with chocolate myself).

Today I have for you a great easter weekend recipe courtesy of Gillian from Crumbs of Comfort Cake Design.

When working on my collaboration with Royal Albert Australia I was keen to find the perfect recipe that goes with their pretty range of tea ware.  This Pink Roses Cake stand looks just wonderful with these English Tea Cake Cupcakes on top which is why as well as sharing with you this lovely recipe I also have one of their very pretty cake stands to give away.

To win one of these lovely cake stands all you need to do is follow Royal Albert on Facebook here and leave a comment on this blog post letting me know who you think this cake stand would be the perfect gift for.

The give-away winner will be announced back here on the blog next Thursday 24th April (only open to Australian residents).

I hope you enjoy the recipe below – both Gillian and I would love to here how you go!

English Tea Cake

65g butter, softened
110g caster sugar
1 egg
2 teaspoons vanilla extract
125g self-raising flour, sifted
85 mls milk

Pre-heat oven to 180°C/160°C fan-forced. Line a 12 hole pan with cupcake papers.

Using an electric mixer, beat butter, sugar, egg and vanilla together for 2 minutes or until combined. Stir in half the flour, then half the milk. Repeat with remaining flour and milk. Spoon mixture into papers.

Bake for 15-20 minutes or until a skewer inserted in the centre comes out clean. Stand in pan for 5 minutes and remove from pan.

Strawberry buttercream

200g softened butter
125mls milk
2 tablespoon strawberry conserve/ jam.
1 kilogram of icing sugar

Cream butter for 1-2 min. Add milk, jam and 1/2 icing sugar, beat for 3 min or until the mix is light and fluffy. Add remaining icing sugar and beat for further 3 mins until light and fluffy and spreadable consistency. Add extra milk if to dry or icing sugar if to wet.

Photography & Styling :: Leanne Ambrogio | Sweet Style
Recipe :: Gillian Brown | Crumbs of Comfort Cake Design
Teaware Range :: Royal Albert Australia
Flowers :: Fiona Kate